(Opens in new window)
(with a text line - from the SPAINT program)
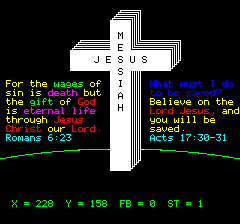
In the Oric memory map, the HIRES screen resides in locations #A000 (40960) to #BF3F (48959).
To save the HIRES screen to tape, you would use the BASIC command: CSAVE "FILENAME.EXT",A#A000,E#BF3F
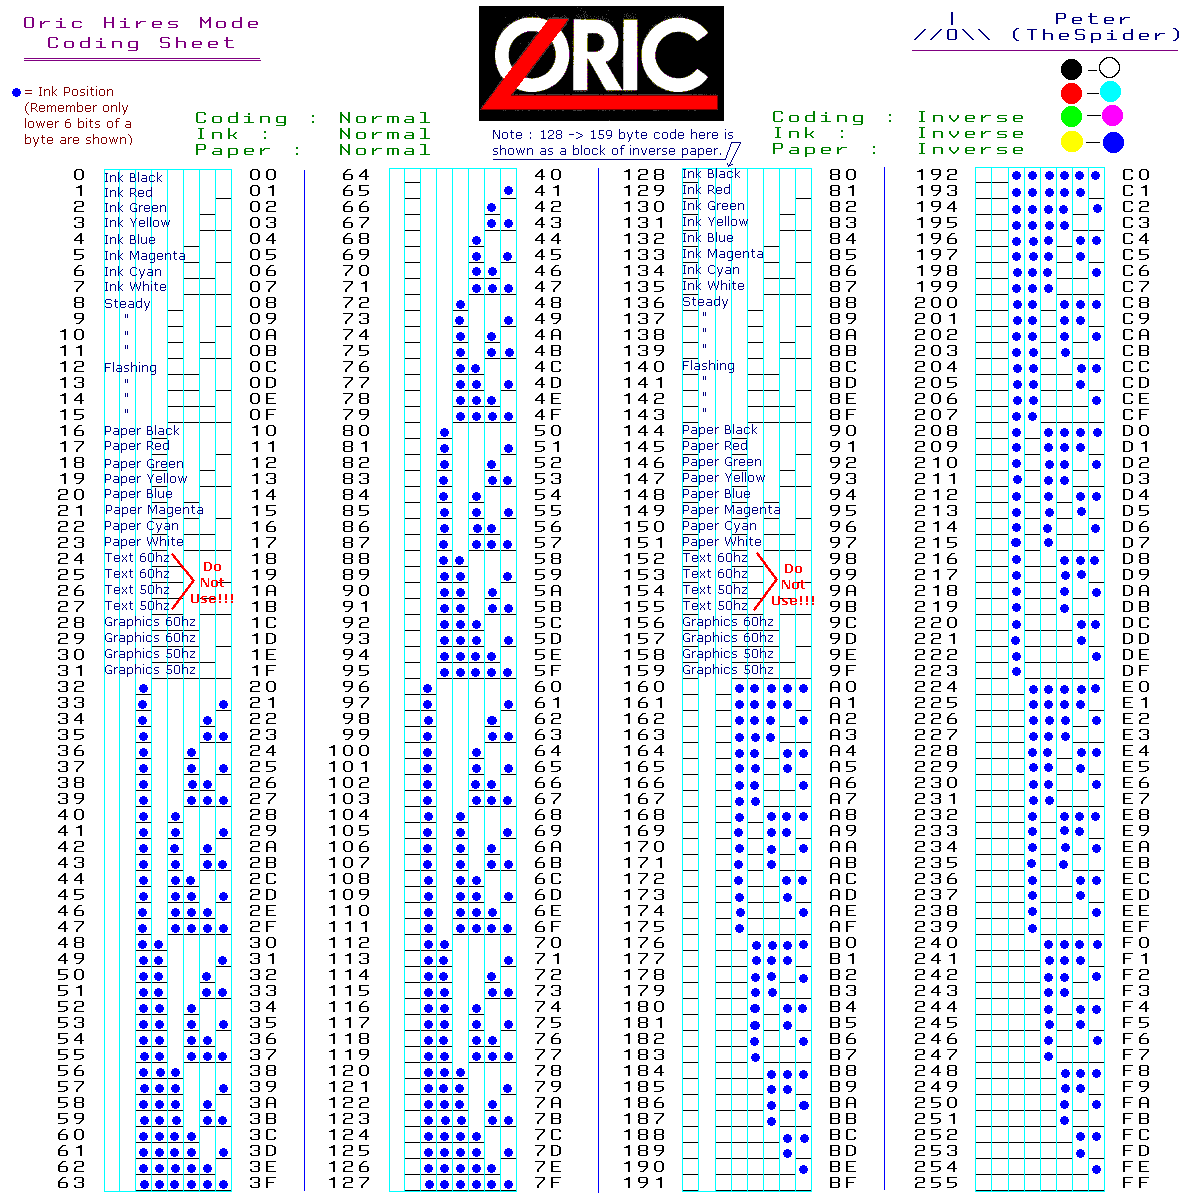
Chart 11 at the end of this instructional page gives us a listing of every value and how it is represented on screen.

We can also see demonstrated PAPER values 144-151 and INK values 128-135. These have the same effect on the rest of the horizontal line as do the lower codes (128 lower), but do have an inverse effect on the viewed byte where this value is stored. In the case of PAPER, the byte is shown in the inverse colour, whereas with INK the byte is shown as an inverse of the PAPER colour set.
A guide to how the colours "pair up" for inversing, may be seen at the bottom of Chart 2.
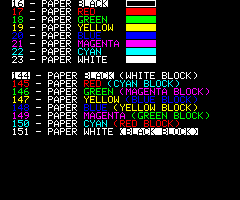
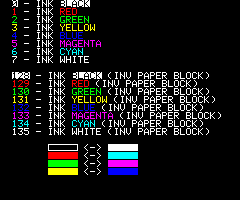

In cases where the PAPER and INK would be the same colour (say RED PAPER 17 and RED INK 1), it was not demonstrated on the chart, since the visable value would not be able to be read.
We can see that INK values 128-135 did in fact leave an inverse PAPER visable byte
Chart 2 below shows us the same range of colour attribute PAPER and INK codes that Guide 1 does, but we can see that the shown information is inversly coloured. This is because all the data byte codes in Chart 1 were of the range 64-127, but here in Chart 2 the same codes are in the range 192-255.
[Please note that in Oric BASIC, the graphic control commands (CURSET, DRAW, CIRCLE etc) will only have the HIRES display show the data byte codes 64-127. To use codes 192-255, they have to be FILL'd or POKE'd into place.]
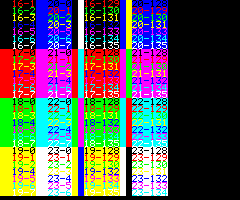
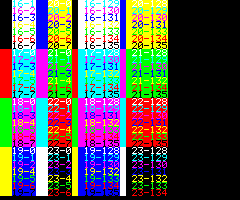

The effect on the visable codes is the same, but the PAPER attribute byte is shown in inverse colour.
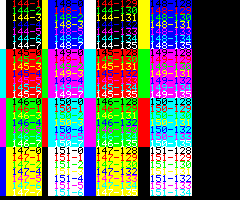
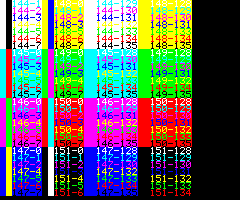

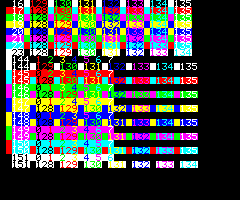
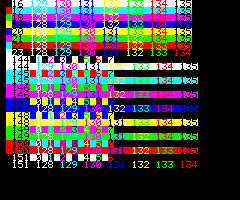

[Note: For the INK values 0 & 128 [BLACK] a PAPER value of 23 [WHITE] was used beforehand, for the simple reason that PAPER is automatically BLACK unless otherwise set, and logically you cannot see BLACK on BLACK.]
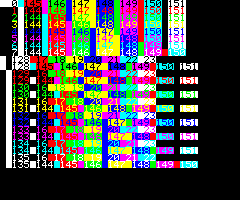
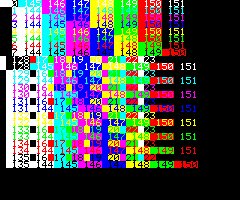

It is not designed to be a fully informational tutorial, but if it helps someone else to understand the HIRES screen better then I will be happy.
If you wish to discuss any of this, please email me: thespider AT oric DOT com [Not a link]
Of course, discussions regarding all things Oric are constantly held at the Usenet Newsgroup: comp.sys.oric
[Email me if you need server details]
All Oric graphics were created using SPaint, which is a paint type program of my own BASIC coding. It is slow, constantly being worked upon, but for the most part it works.
Here are the links to download the program and documentation...
SPaint - Oric Paint Program (zipped disk & tape files)
SPaint Documentation (zipped HTML folder]

| Chart 1 | - PAPER.HRS | Chart 2 | - INK.HRS | ||
| Chart 3 | - CLRBAR1.HRS | Chart 4 | - CLRBAR1I.HRS | ||
| Chart 5 | - CLRBAR2.HRS | Chart 6 | - CLRBAR2I.HRS | ||
| Chart 7 | - CLRBAR3.HRS | Chart 8 | - CLRBAR3I.HRS | ||
| Chart 9 | - CLRBAR4.HRS | Chart 10 | - CLRBAR4I.HRS |
Unzip the files into your TAPE directory, and in your ORIC emulator enter into HIRES mode.
To view each file, type: CLOAD "FILENAME.EXT" , example: CLOAD "CLRBAR1.HRS"

|
Return to
TheSpider's Oric Web 
|

